This guide will walk you through the process of creating a custom lists, and use it as source on a ticket through a custom field.
Step 1:
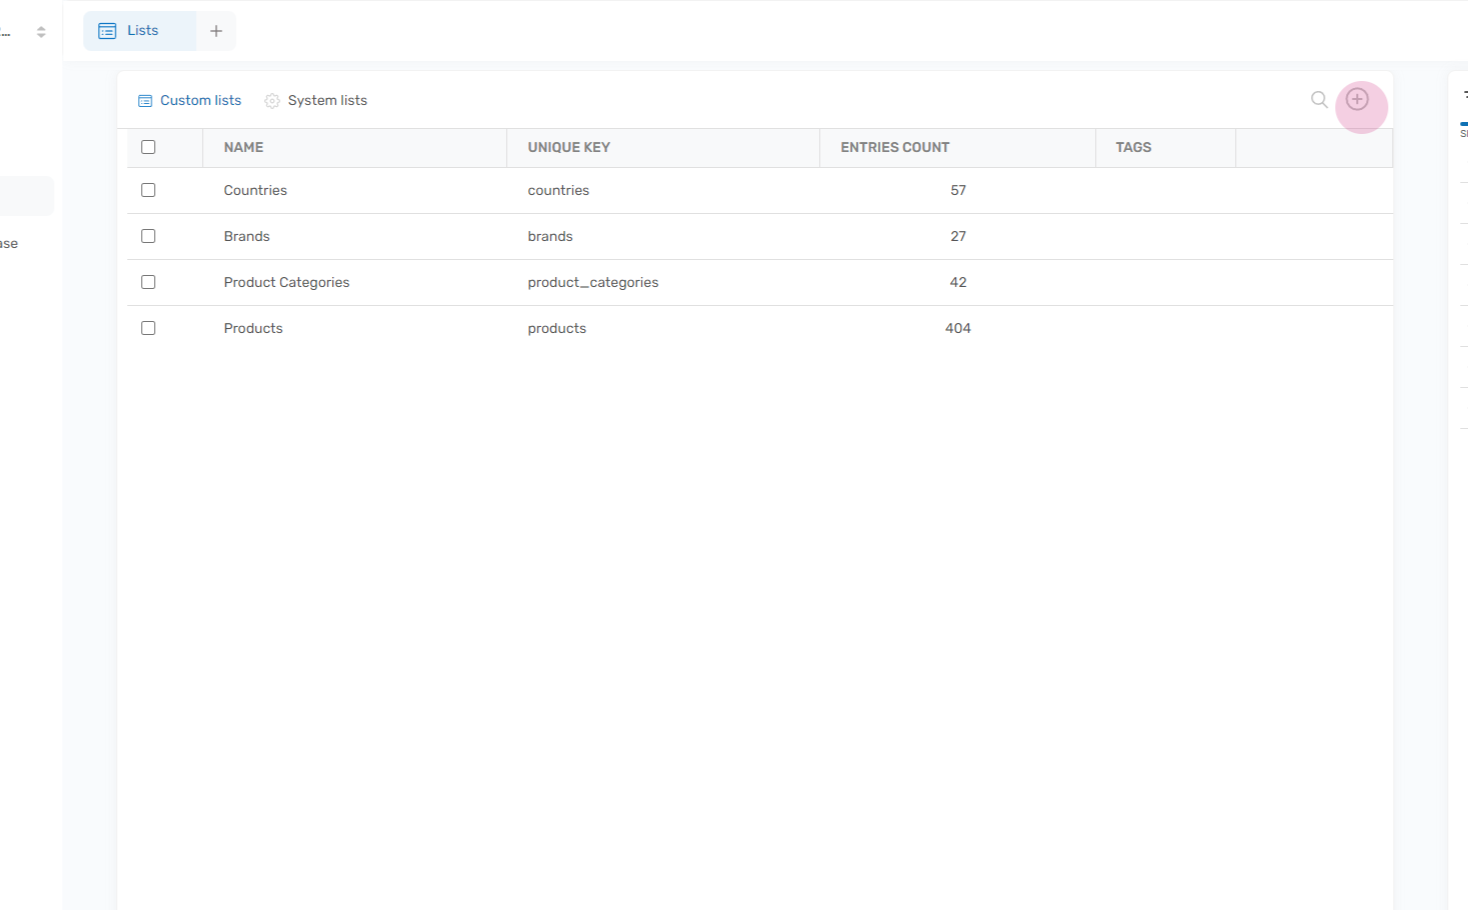
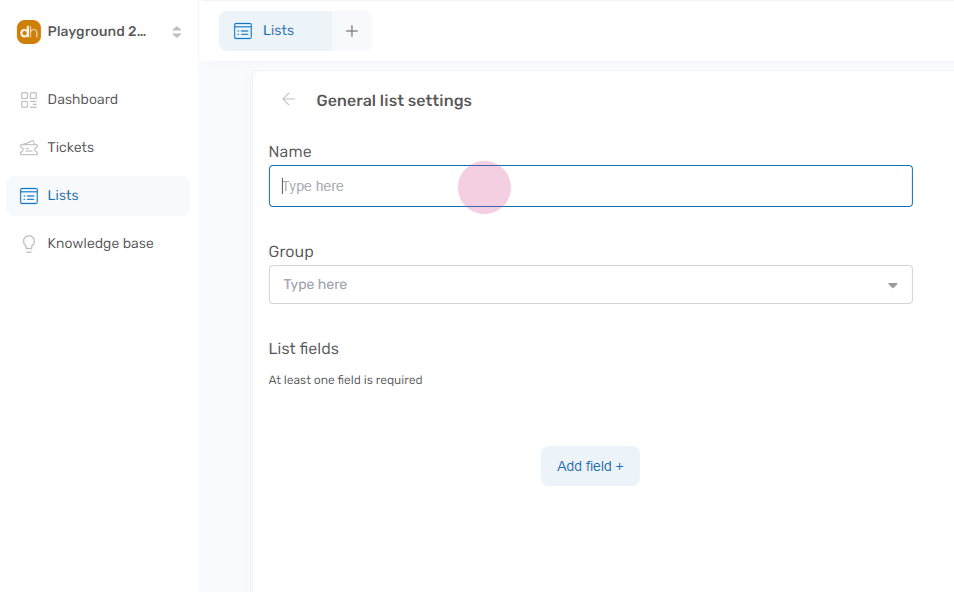
Navigate to the lists feature and click on ‘Add List’.
Step 2:
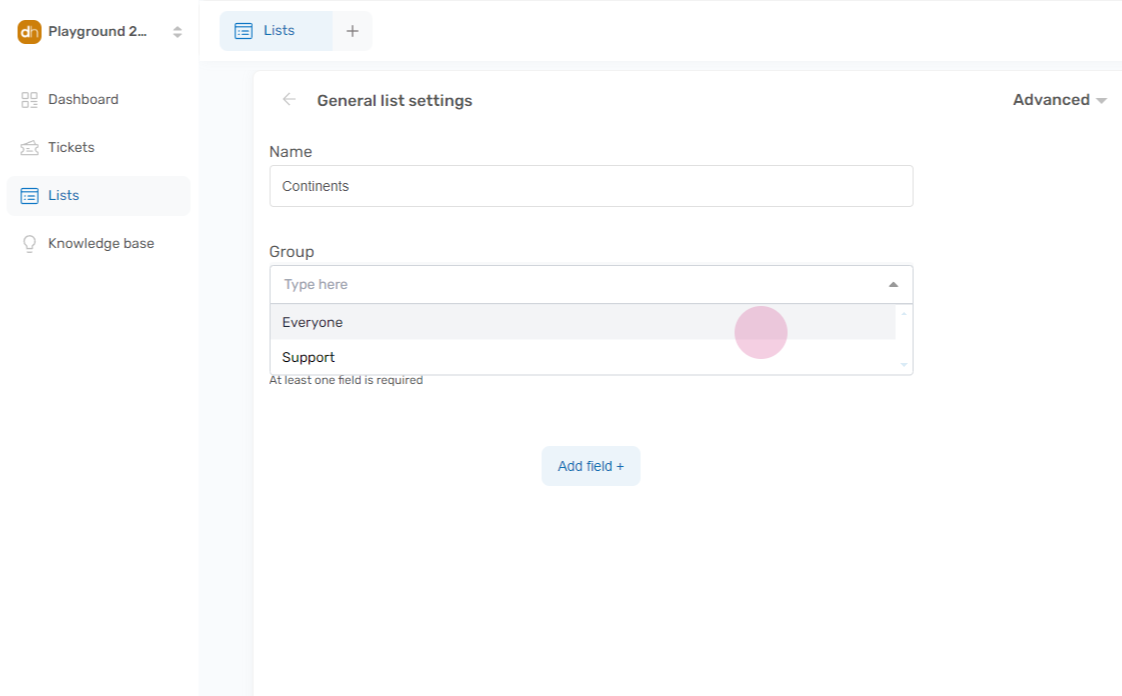
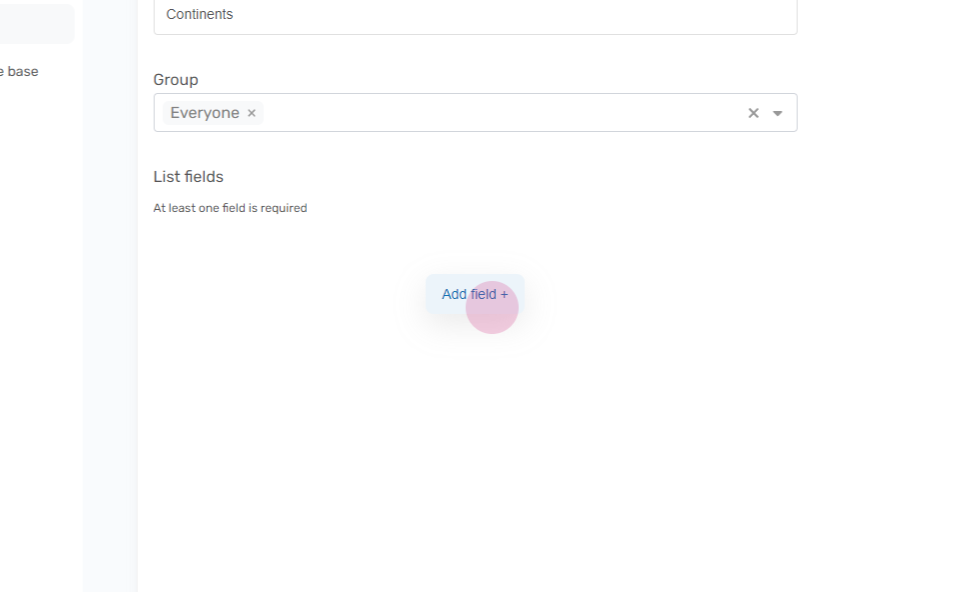
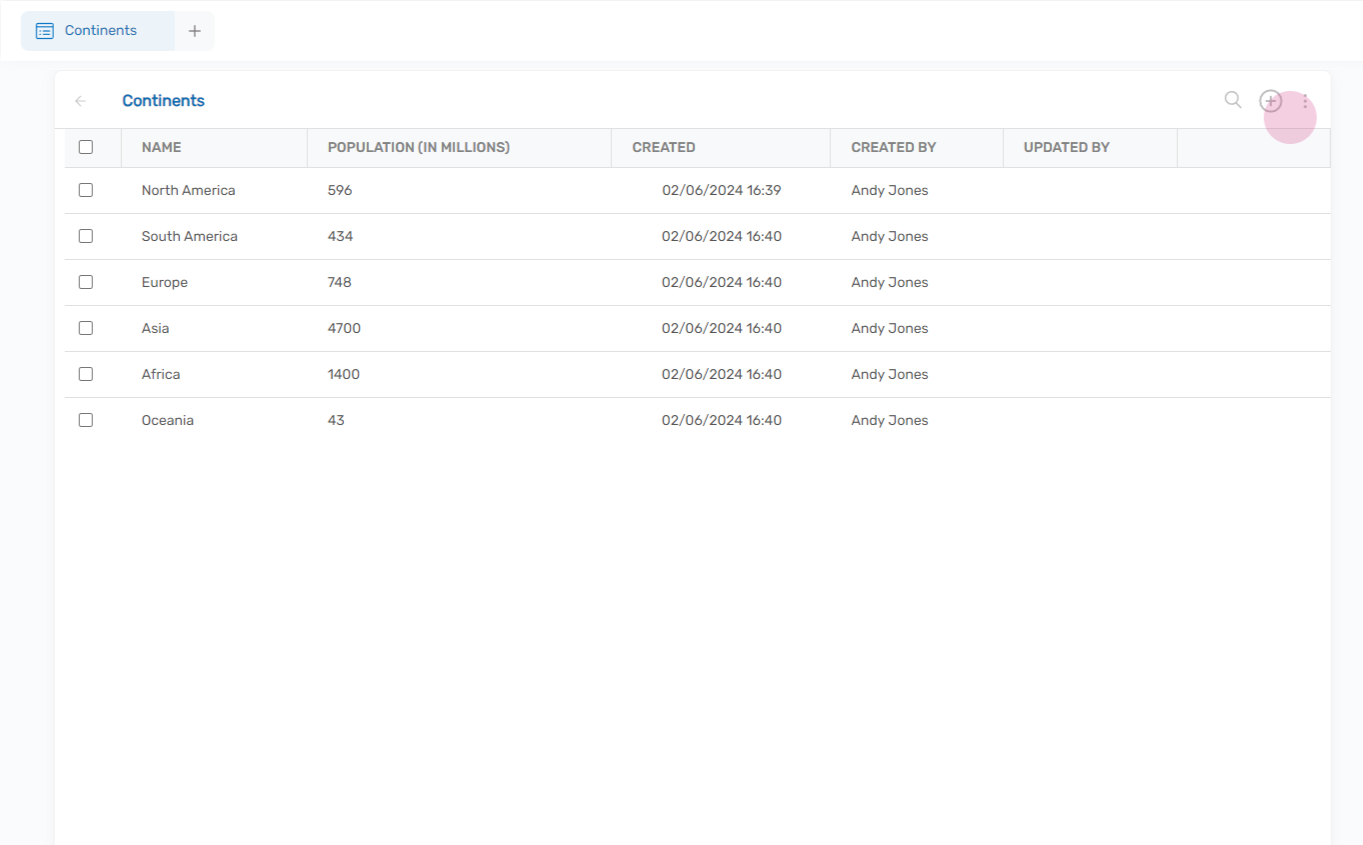
Name your list. In this example, we’ll call it ‘Continents’.
Step 3:
Assign ownership to one of your groups. (can be changed later)
Step 4:
Next, add fields to your list.
Step 5:
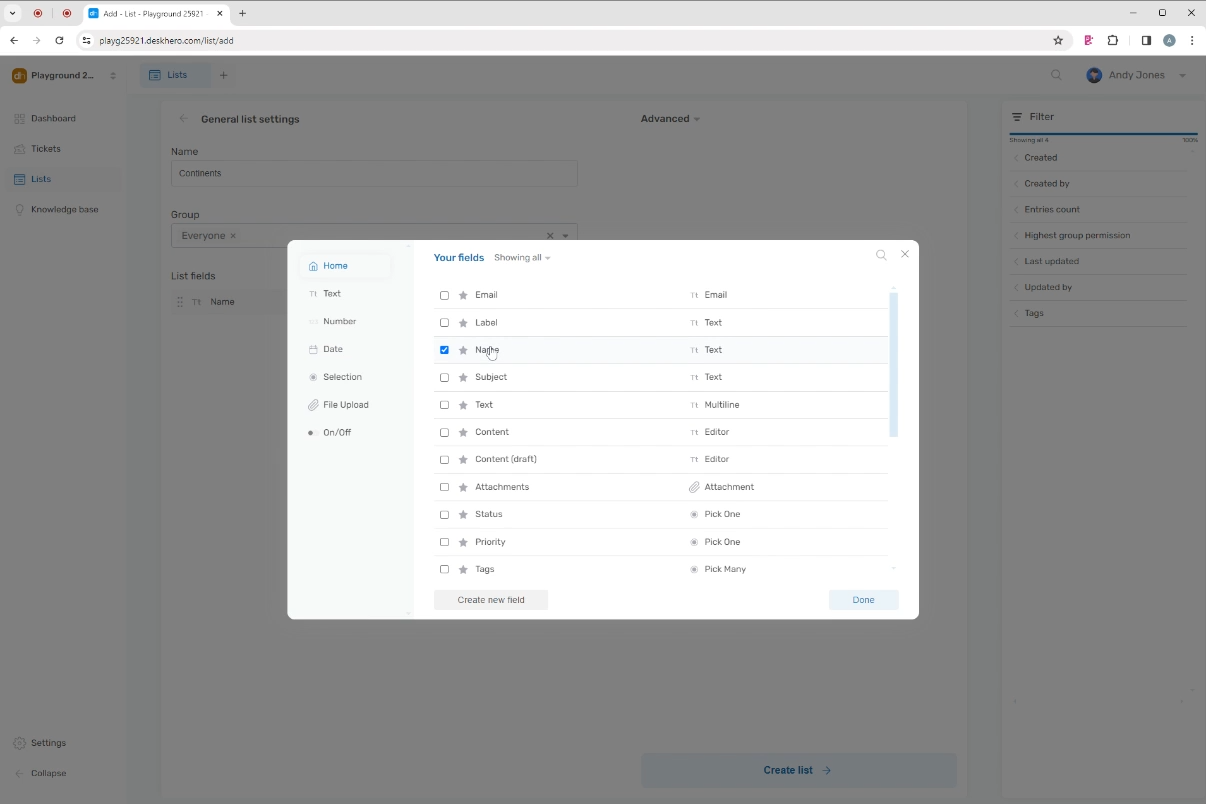
Lets reuse the existing ‘Name’ field
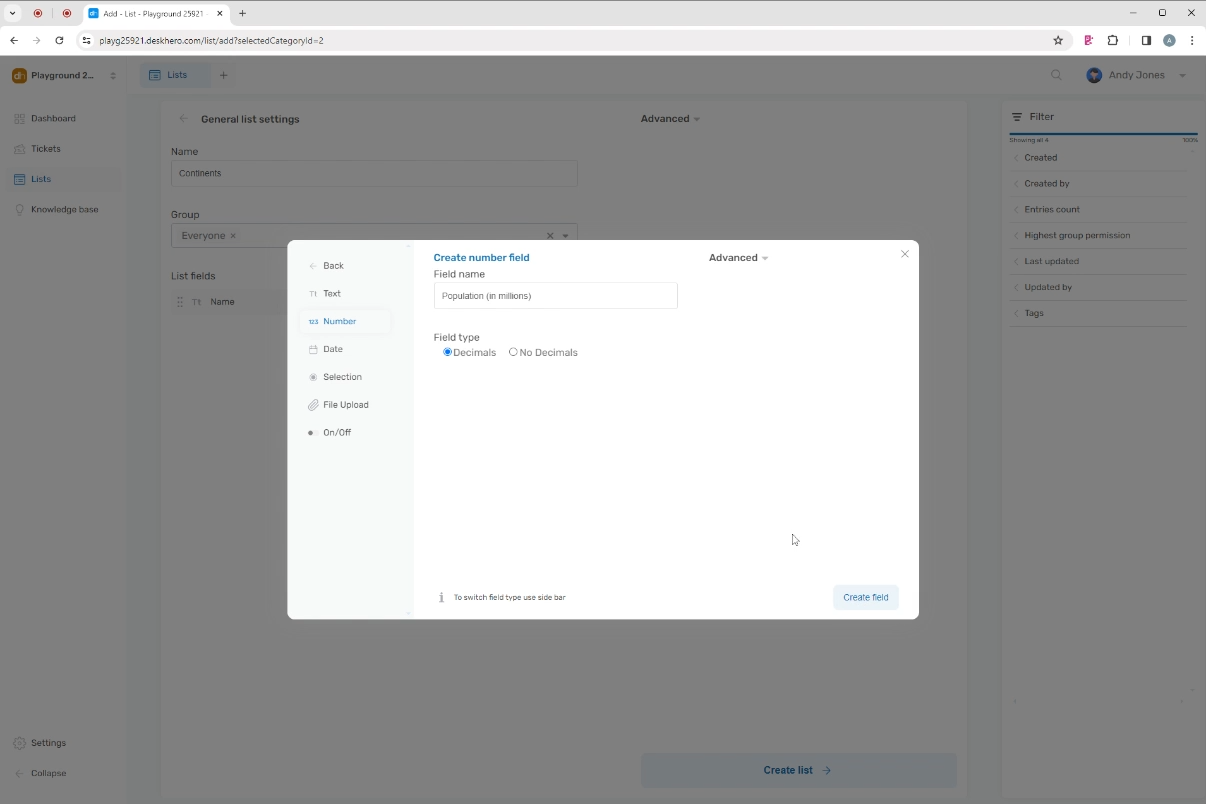
And for the purpose of this example, we’ll create a second field called ‘Population in Millions’.
Step 6:
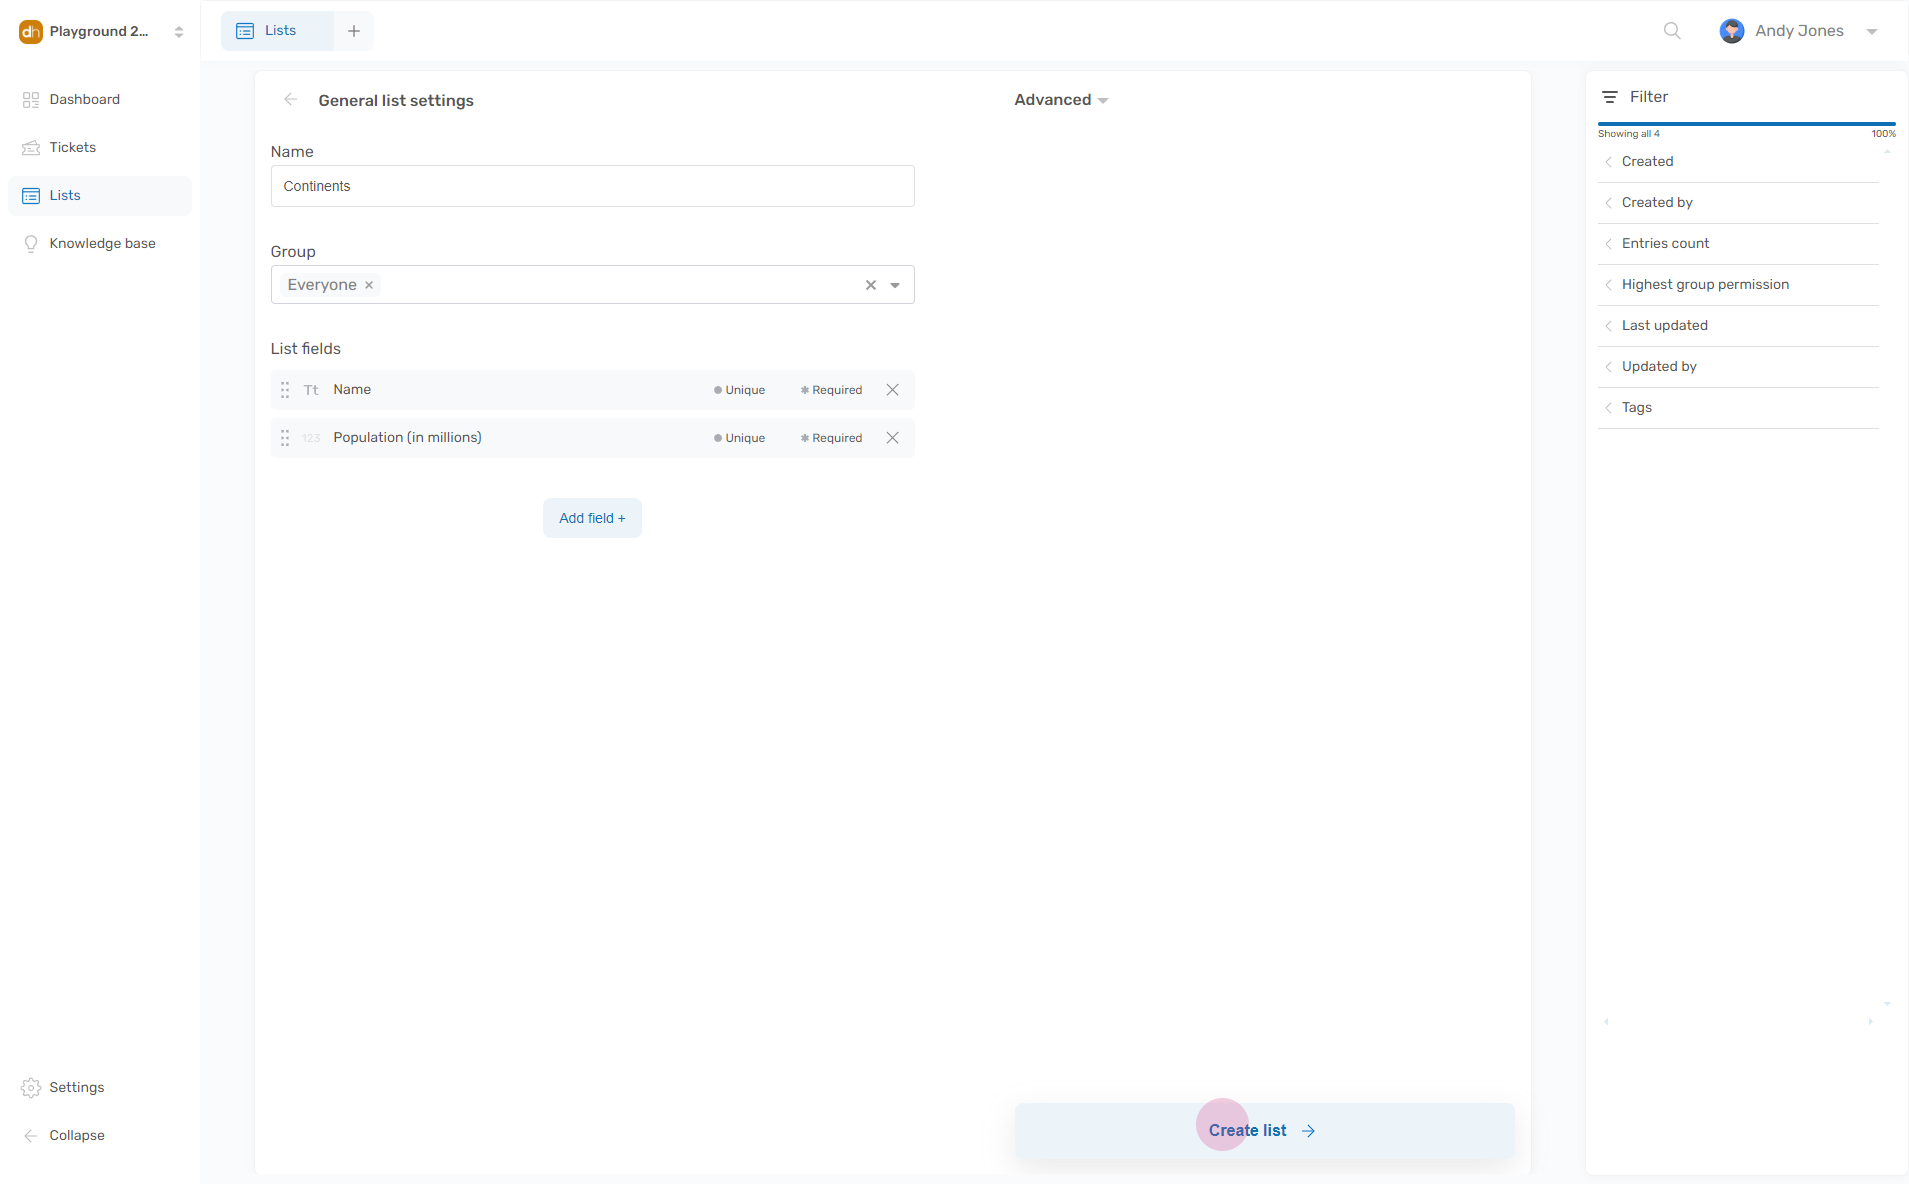
Finalize by click “Create list”
Step 7
Once your list is created, you can add entries to it.
Step 8:
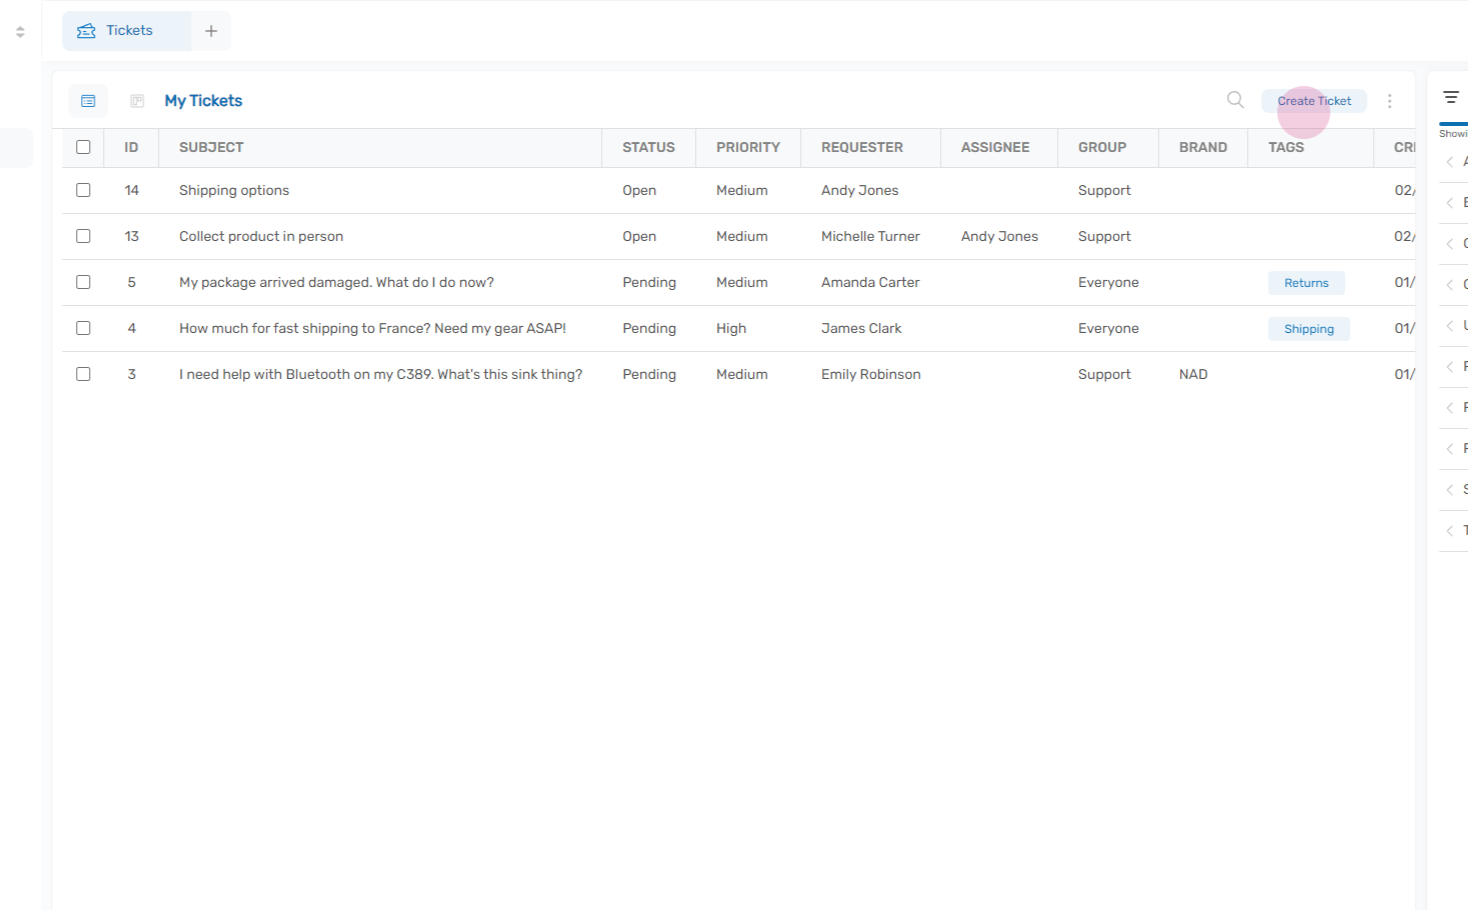
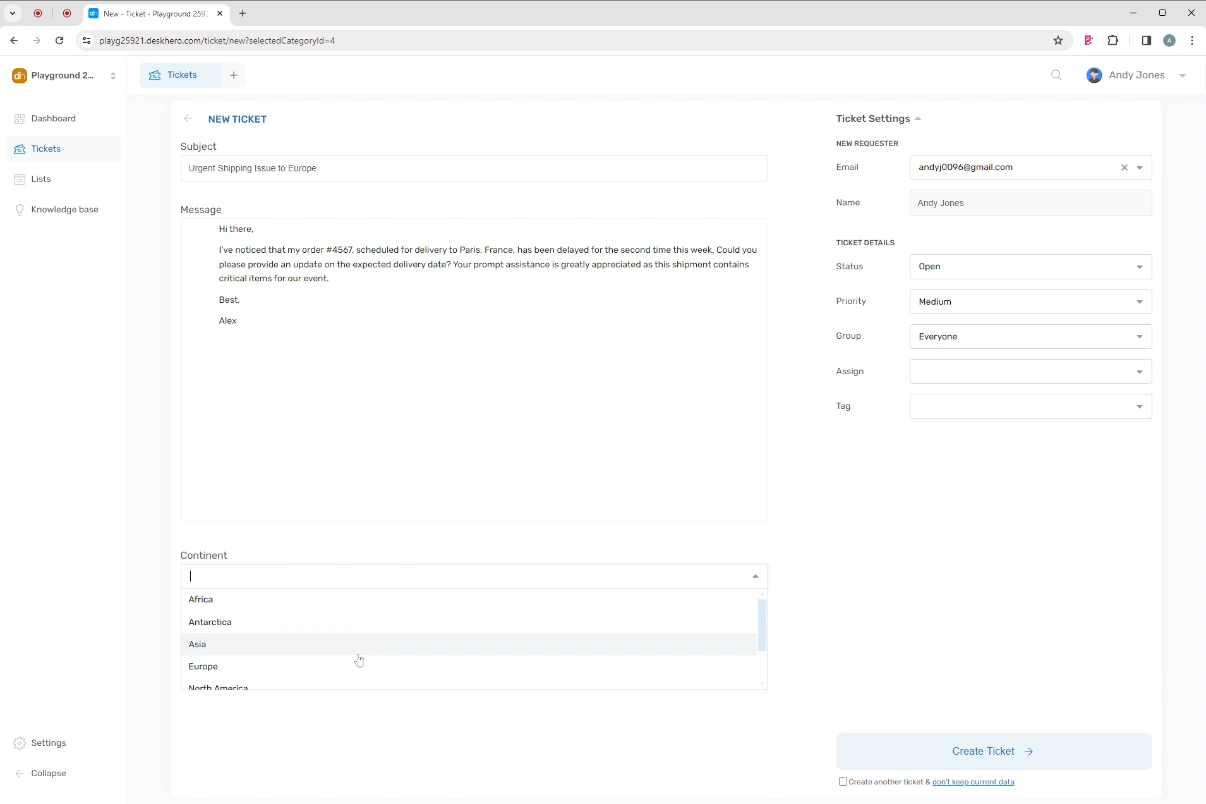
Now that we have a list with a few continents, we can use this list in tickets.
Go to Tickets, and Create ticket
Step 9:
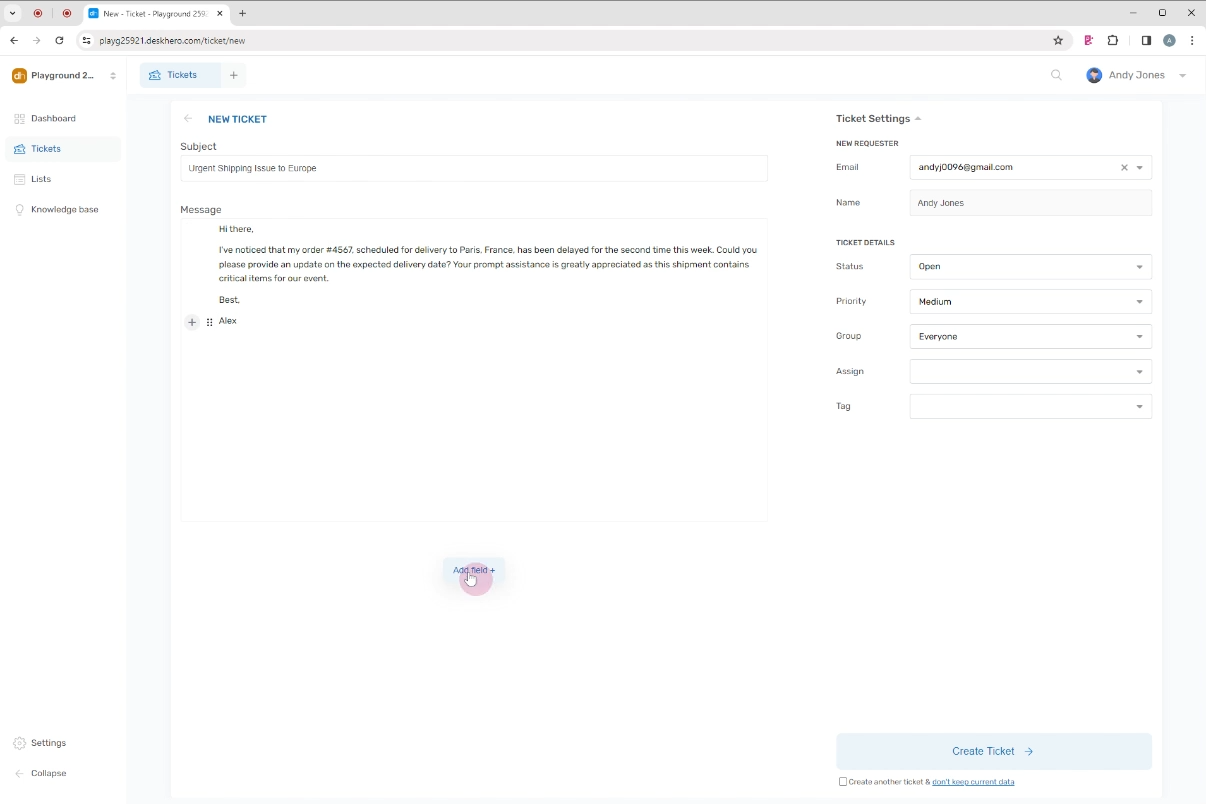
Click “Add field” on the ticket
Step 10:
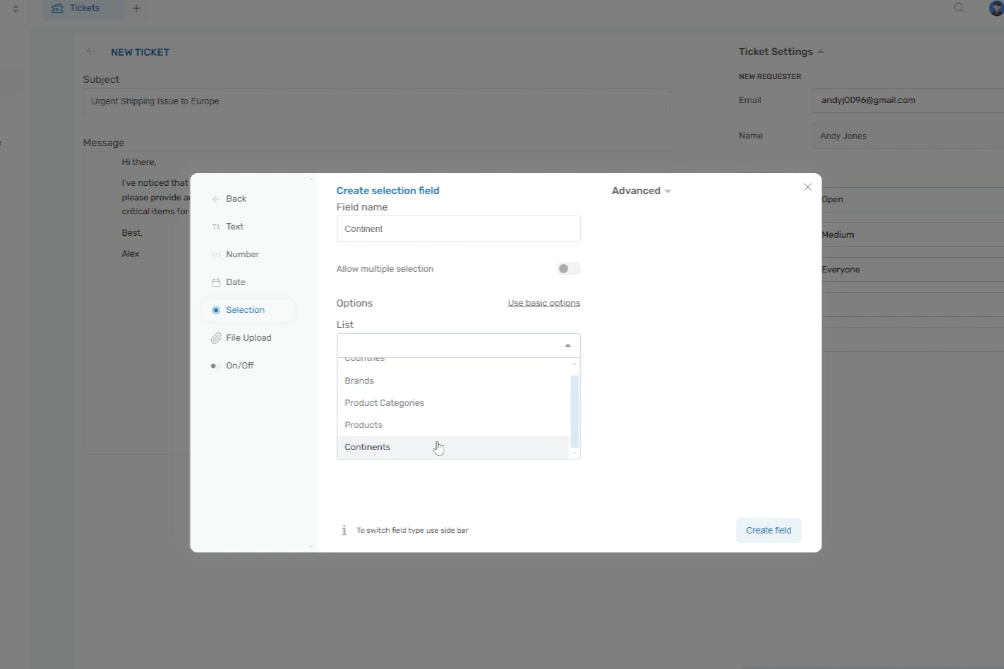
Since we don’t have a field connected to our list yet, Click “Create field” and chose “Selection” as data type.
Lets give it the name “Continent”, and chose our newly created list as option source.
Step 11:
That’s it. The field is ready to be used on this and all other tickets.
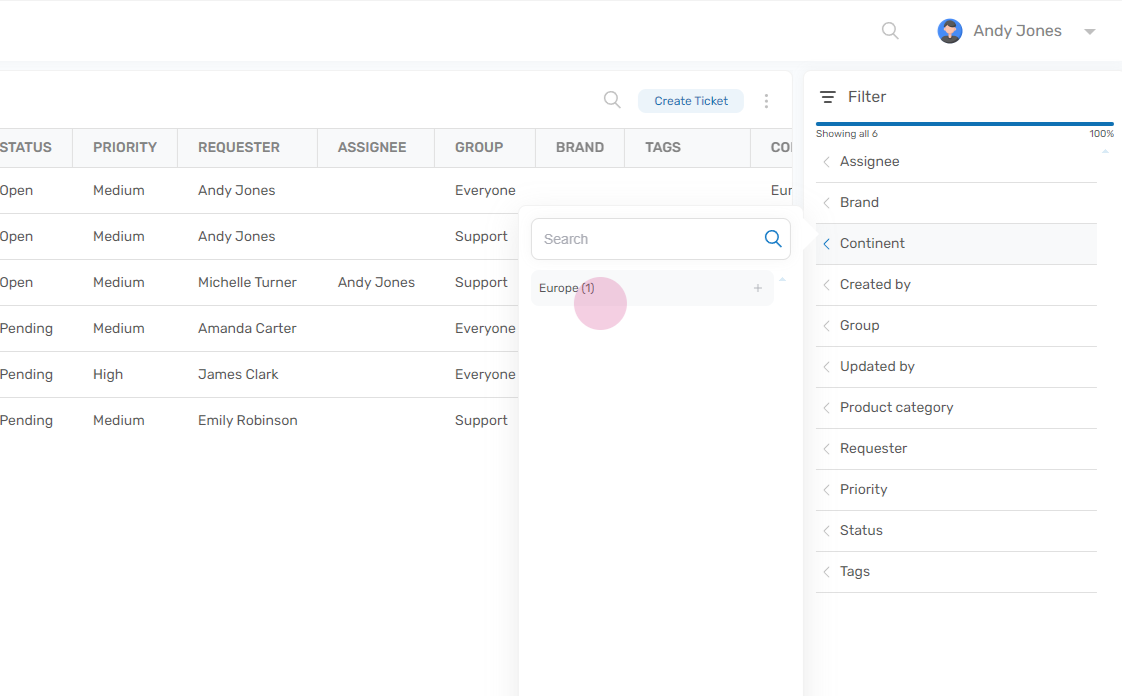
Heading back to the list of tickets now allows us to easily filter tickets using the field. The field is automatically showing up as a filter.