Step 1) Create Email Addresses

Every group in Deskhero can be associated with one or more email aliases. By default, a group like “Finance” will receive an address in the format: finance@customer.deskhero.com. However, additional addresses can be added, such as invoices@customer.deskhero.com or accounting@customer.deskhero.com.
For detailed steps, see our guide: How to create email address for ticket communication.
Step 2) Add Your Own Domain
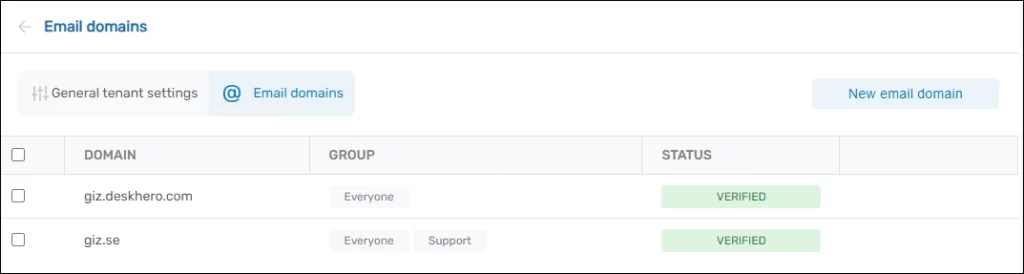
Many customers prefer using their own domain, like finance@yourcompany.com, to give their communications a personalized touch.
To achieve this, start by adding your domain to Deskhero.
For a comprehensive guide, refer to: How to use your own domain for emails.
Step 3) Configure and Forward Emails with Your Domain
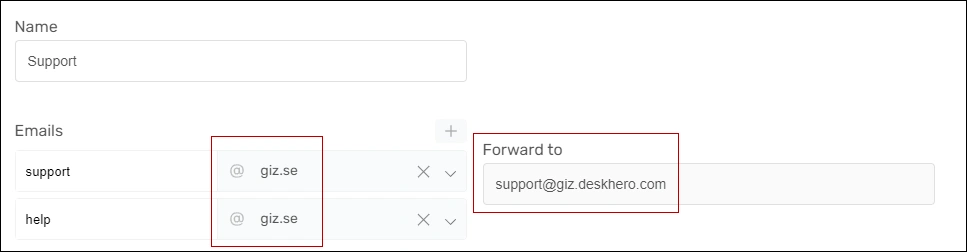
After integrating your domain, navigate back to the group’s configuration to modify the domain for each email address.
For all custom domain email addresses, ensure you set up forwarding from your primary mail server to Deskhero.
For guidance on this, check our guides: How to create email address for ticket communication and How to Forward Emails into Deskhero
In this Serie: